
This might be weird but this post has been sitting, un posted since August 2021. So here is a much delayed post. Husband doing fine 2 years later.
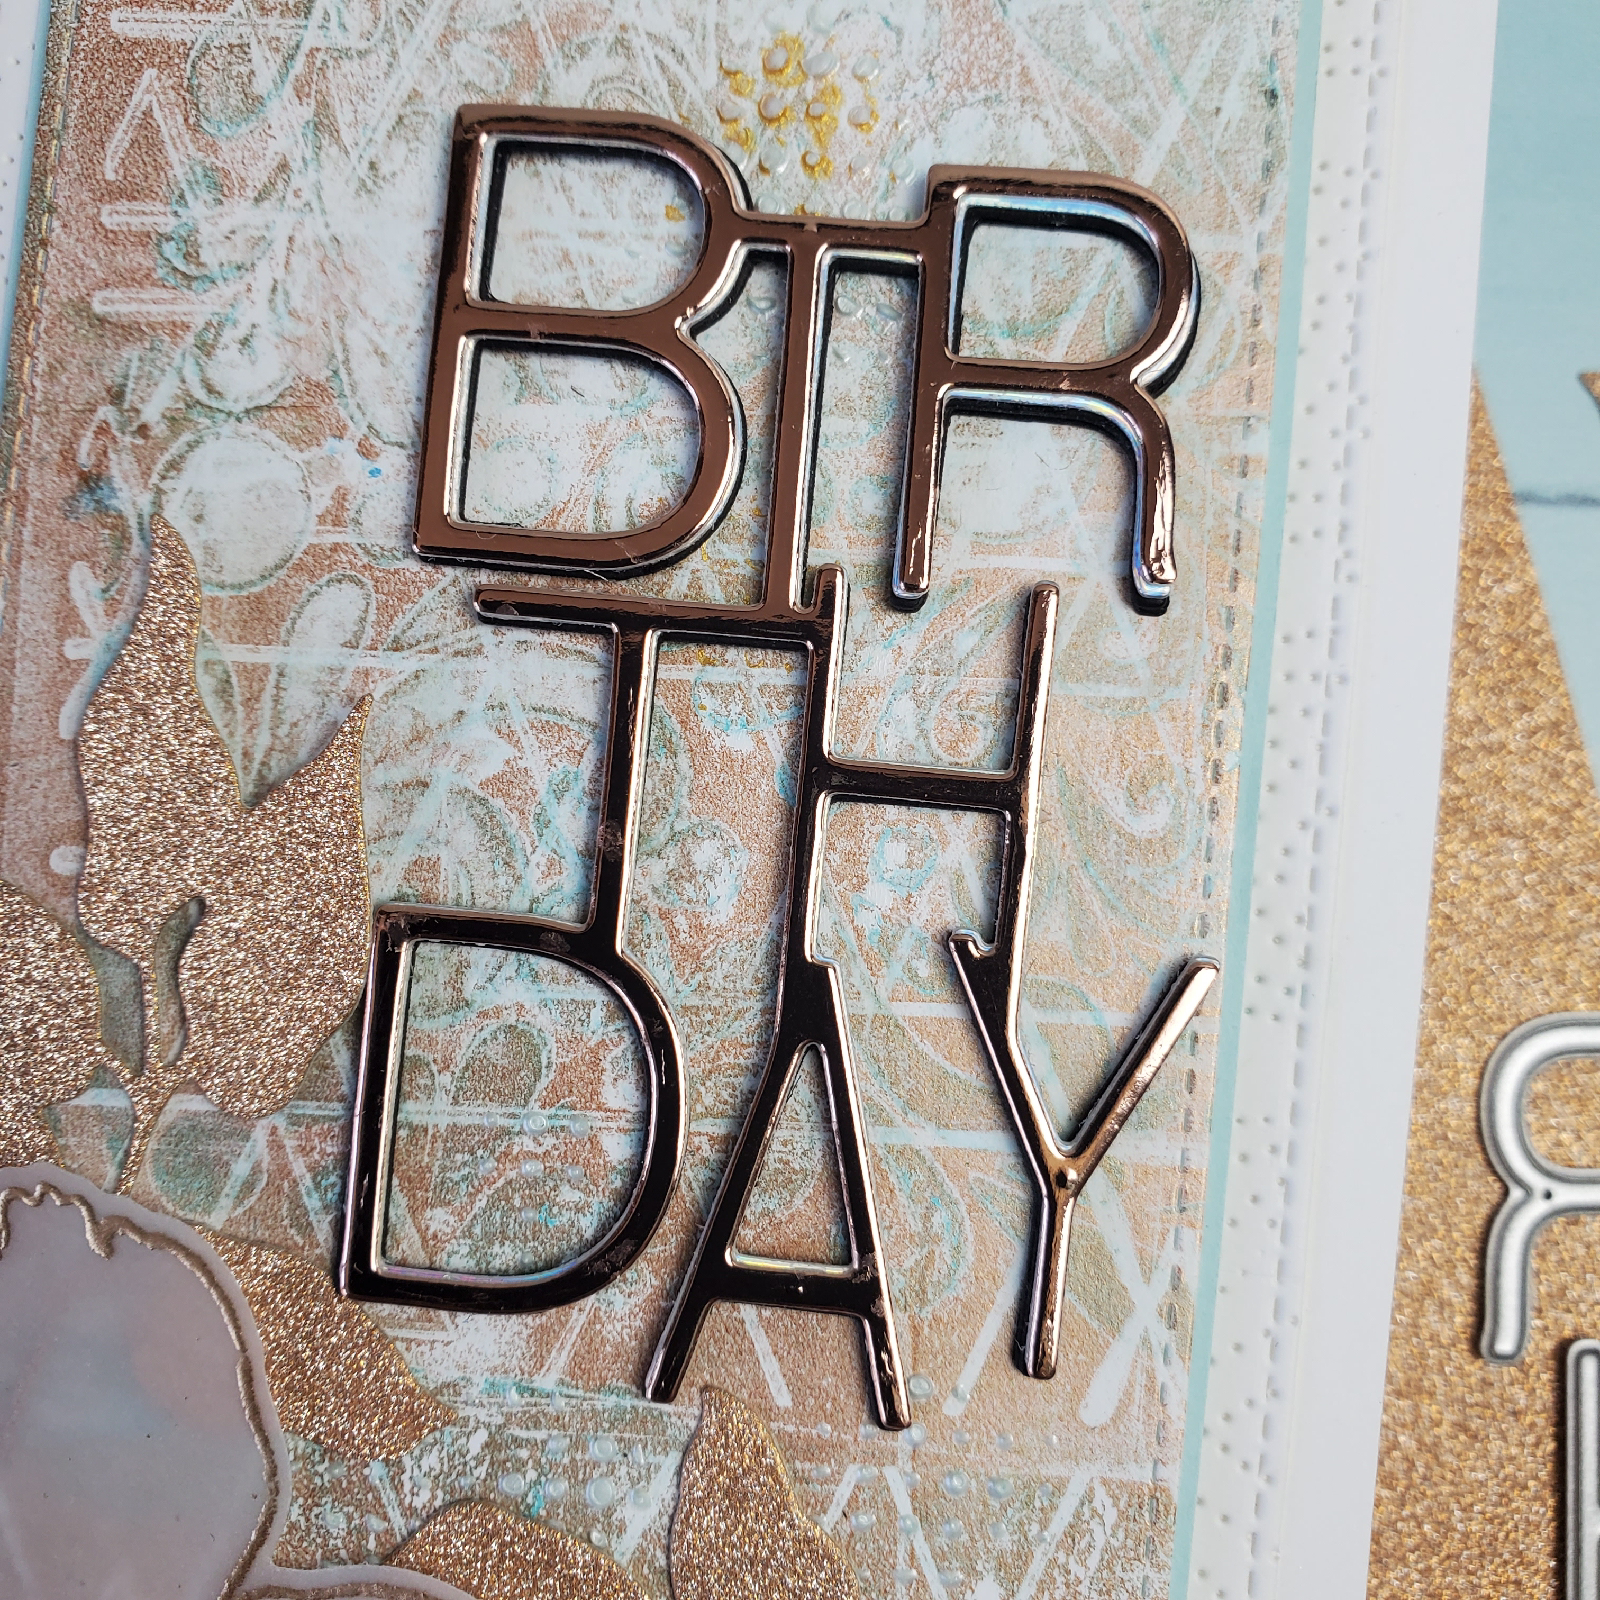
My crafting life has been almost non existent. My 90 year husband returned from filming a commercial in Florida in August with a septic shoulder and is just now beginning to recover. Multiple hospital visits and a pacemaker later and I feel like we are sort of getting our life back. In any case, this card took me a week and a half in 10 minute intervals. I have been trying to use my stash of backgrounds that I have lying around so I picked one that is a mix of gold and speckled egg. I used two Altenew stamps and a sentiment stamp from Unity Stamp Company.


